Part 1 of 10 · Set up
Set up your project.
Install two tools, open the starter project and get your first page running on your own computer.
By Ahmed Gadir4 min read
By the end of this part you’ll have a page running on your own computer that says Your app is running, and a saved starting point you can always come back to. It is a plain page, and everything you build in this series grows from it.
You’ll install two tools, download a small starter project, and give your coding agent its first two instructions. You won’t write or read any code, here or anywhere else in the series.
1. Install your two tools
A coding agent. This is the AI tool you’ll talk to. You tell it what you want in ordinary language, and it creates and changes the files of your project and runs what needs running. Use Claude Code, or Codex if you prefer it. You only need one. Both need a paid plan or paid usage, so check the cost before you start.
Use Claude’s Code tab
Follow Anthropic’s desktop setup guide for your operating system and account requirements. Install the app, sign in and open the Code tab. The desktop route includes Claude Code; you don’t need a separate command-line installation for this guide.
Node.js. Node runs the tools that build your app on your computer. You won’t use it directly; your agent will. Install Node.js 24 LTS from the official download page, choosing the installer for your kind of computer and accepting its suggested settings. When the installer finishes, you’re done with it.
2. Open the starter project
The starter is a small project folder we’ve prepared, so that you begin with something that runs.
- Download the starter ZIP and unzip it.
- Move the unzipped folder somewhere you’ll find it again, such as a folder called
devinside your home folder. Rename itreading-listif you like. - Open that folder in your agent:
- Claude: open the Code tab, choose Local, then Select folder.
- Codex: create a local project and attach the folder, following OpenAI’s project guide.
Choose the folder that directly contains a file called AGENTS.md. If you pick the folder one level above it by mistake, the agent won’t find the project’s instructions.
You’ll see several files and folders in there. You don’t need to open any of them yet. Part 2 shows you the ones that matter and what each is for.
3. Run your starting page
Your first instruction asks the agent to get the project running. Start a conversation in the project and paste this:
Run my starting page
Read docs/epics/01-setup.md and do Stage A only. Check that Node and npm are installed, and if either is missing, help me install it using the official instructions for my computer. Install the project's packages with npm ci, then start the app. Do not plan or build the reading list yet. Give me the address to open in my browser, tell me what I should see there, then stop.
Paste this into your project conversation.
The agent will ask your permission before it runs commands or changes files. Read each request. Saying yes to commands that install this project’s packages and start the app is expected here.
When it finishes, it gives you an address that looks like http://127.0.0.1:5173. Open it in your browser.
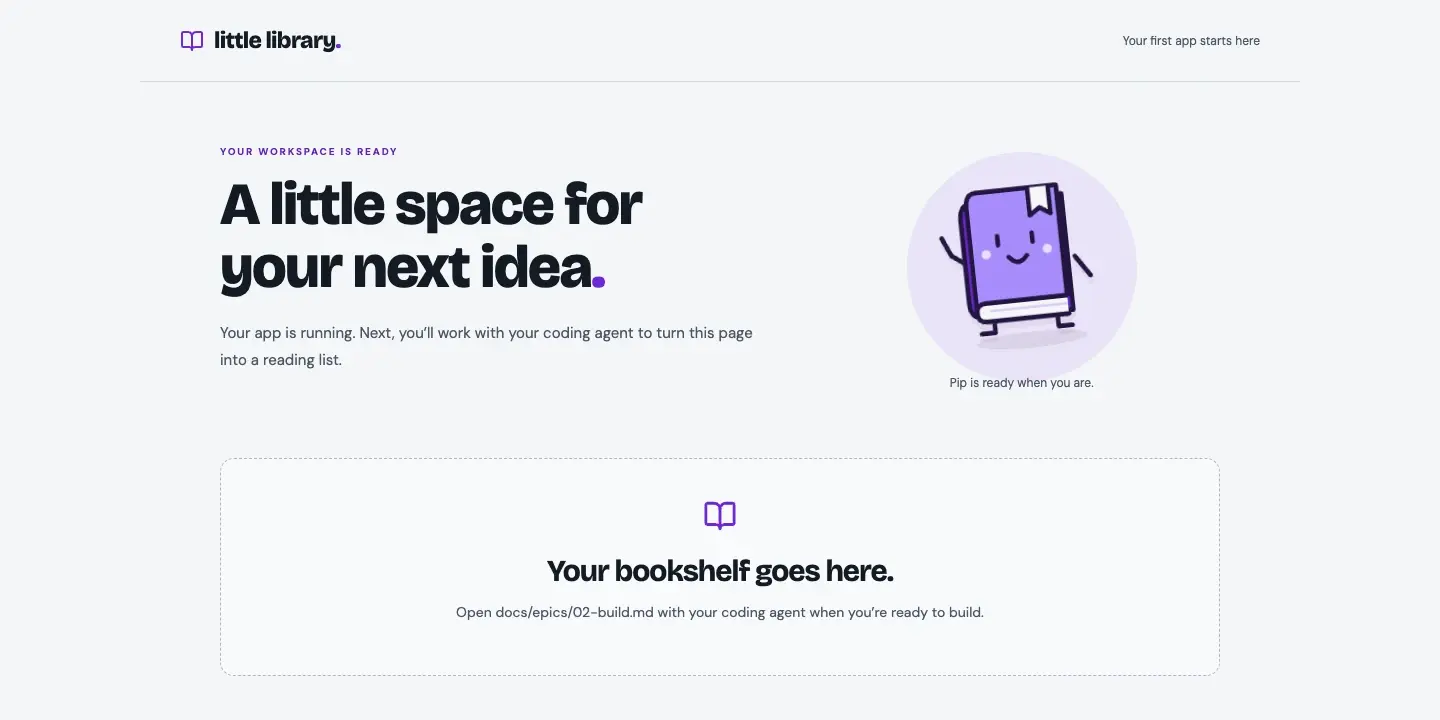
That address begins 127.0.0.1, which always means “this computer”. The page is running on your machine and nobody else can open it. Putting it online is Part 9. The page mentions a stand-in server; you don’t need to know what that is yet, and Part 5 explains it.
If the page doesn’t load, tell your agent exactly what happened: “I opened the address you gave me and saw [what you saw].” Paste any error message in full. The usual causes are small: Node wasn’t installed yet, or the app stopped because the agent’s window was closed. Keep the agent open while you use the page, and always use the address it gives you, because the number at the end can change.
4. Save your first checkpoint
Git saves versions of your project, so that you can go back if something breaks. Each saved version is called a commit, and we’ll call them checkpoints. You’ll save one at the end of every part. Ask your agent:
Save my starting point
Continue Stage A of docs/epics/01-setup.md. Check that Git is installed, and if it is not, help me install it from git-scm.com. Set up Git for this project folder, asking me for the name and email to record if they are missing. Look at what would be saved and make sure it leaves out installed packages, built files and anything secret. Save a first checkpoint called "Starting point", confirm that it worked, and record the outcome in docs/progress.md. Do not push or publish anything.
Paste this into your project conversation.
The agent will tell you when the checkpoint is saved. It stays on your computer; nothing has been sent anywhere.
You now have a running project and a saved starting point. Next, in Part 2, you’ll tell your agent who it is working with, and see how this project is set up so that an agent works well in it.
FAQ
Do I need a GitHub account?
No. Git keeps its history on your own computer. GitHub is a website that can hold an online copy, and Part 9 shows how to make one if you want a backup.
How do I carry on another day?
Open the same folder in your agent and say which part you’re on. If you want to see the app, ask the agent to start it and give you the address.
Can I look at the files myself?
Yes, and nothing will break if you do. Your agent’s own file view is enough. If you’d like a separate program for it, VS Code is free: install it and open the same project folder.
Further reading
- How Claude Code worksAnthropic
A plain explanation of what a coding agent does with your request: gathering context, acting, then checking its work. The sections on sessions and permissions explain what you saw during setup.
- Terminal guide for new usersAnthropic
This series uses the desktop app. If you later want to try Claude Code in a terminal, this guide assumes you have never opened one.