Part 1 of 7 · Set up
Getting Started with Coding Agents.
Make a small reading-list app with an AI coding agent, from your first running screen to a link you can share.
By Ahmed Gadir6 min read
A coding agent can read files, change them and run tools from a conversation. You describe what you want, then check the result. No coding experience is needed, and you won’t be asked to read the code.
You will still be the one making the decisions. This series doesn’t hand the agent a description and hope for the best. You’ll plan what the app should do, learn how its parts fit together, ask for one small piece at a time and check each piece yourself. Those habits are what make an agent useful on a larger project.
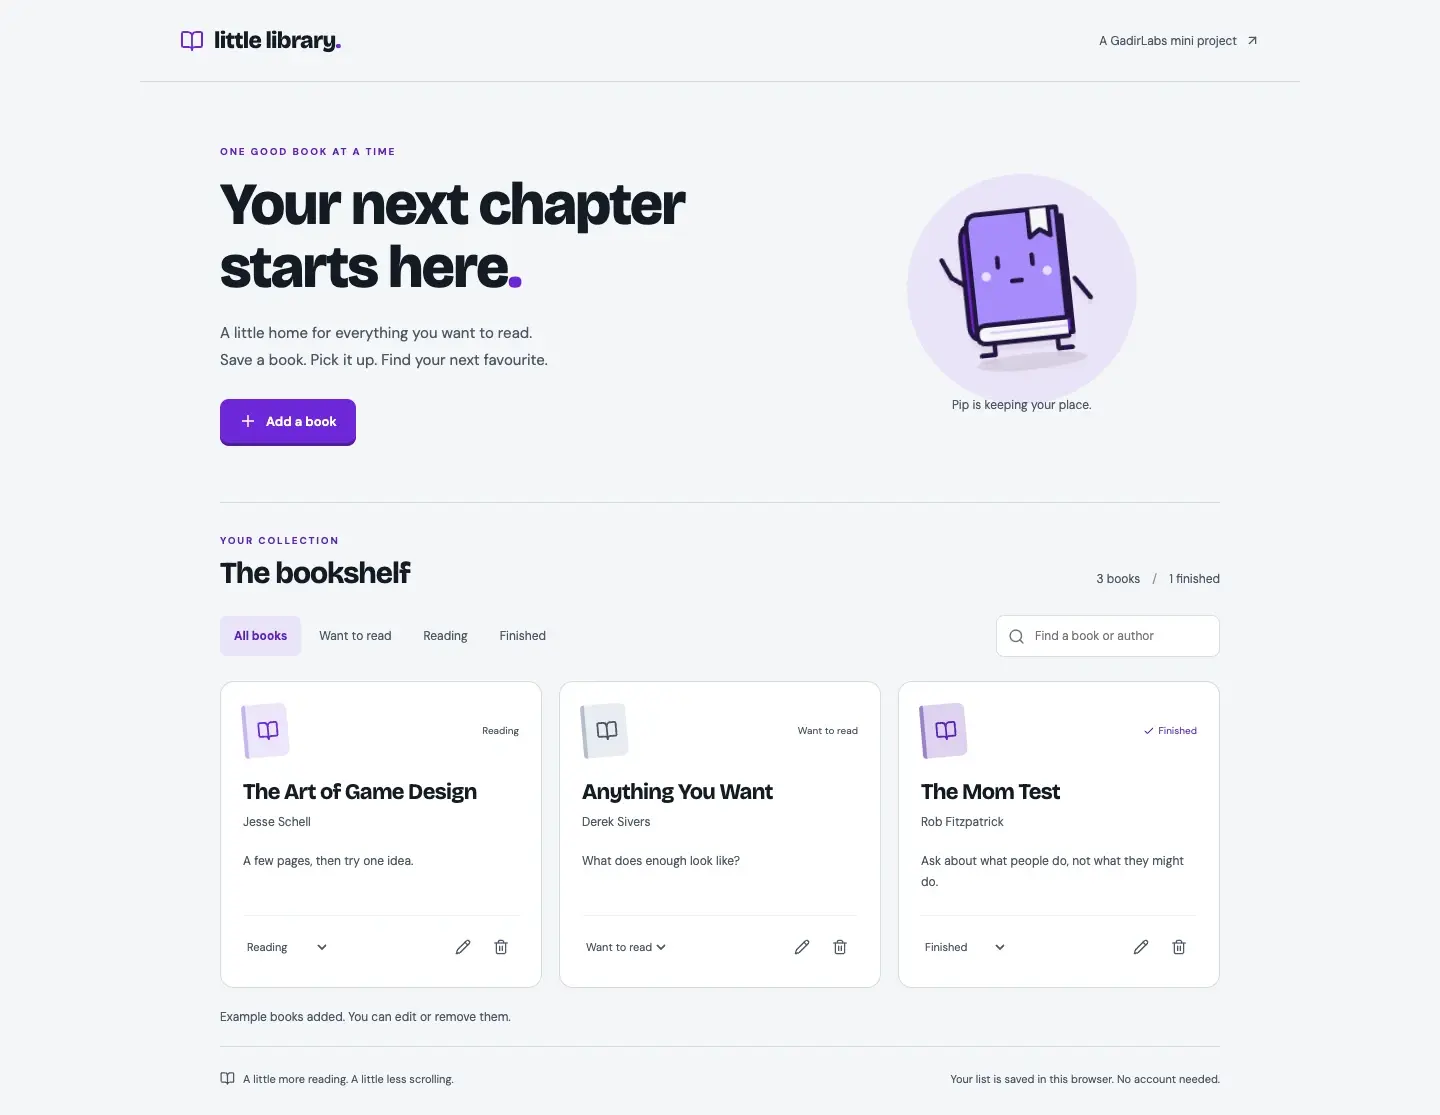
We’ll make a reading list with titles, optional authors and notes, and three reading statuses. You’ll add search, filters, editing and removal with undo. Entries stay saved after refreshing. An original book mascot is included.
The route
- Set up your project
- Plan your reading list
- How your reading list works
- Build your reading list
- Save your reading list
- Test your reading list
- Publish your reading list
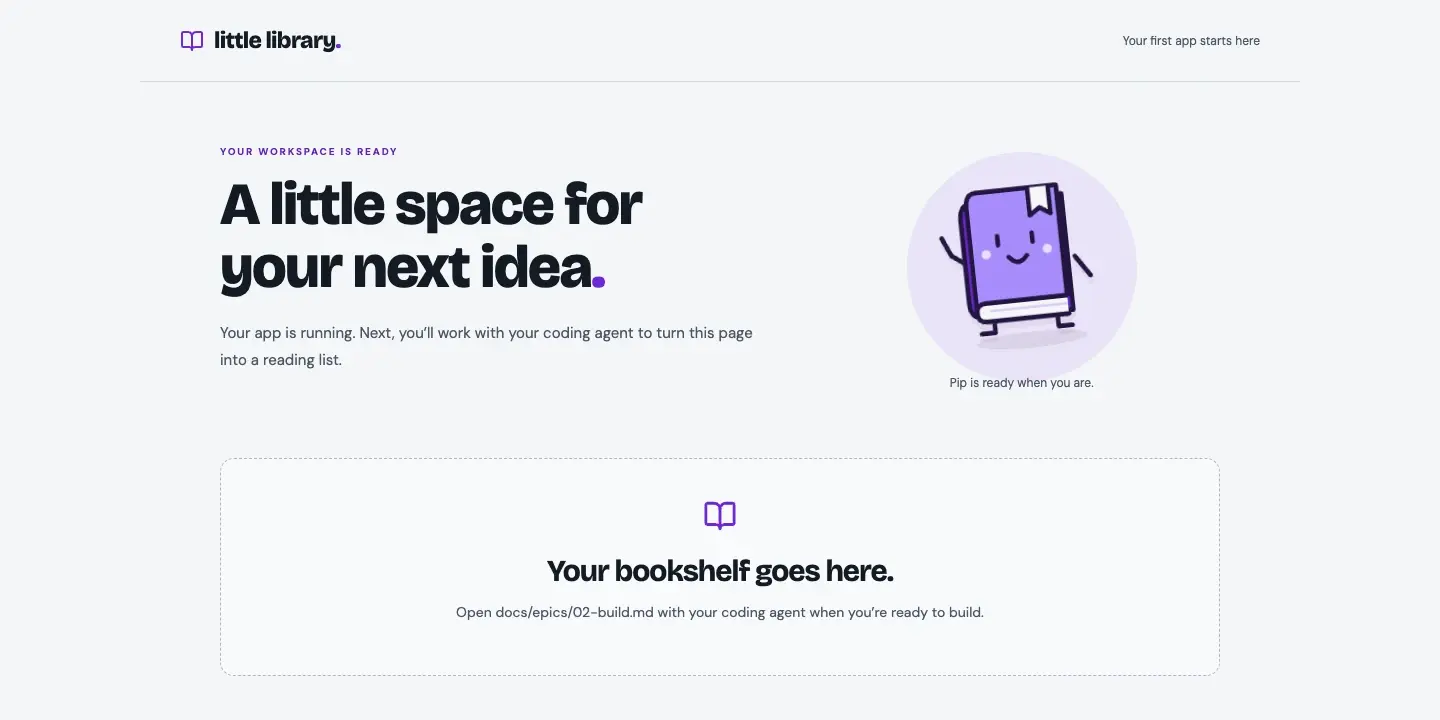
Each part ends with something you can see. This first part ends with the starting screen running on your computer. Parts 2 and 3 involve no building at all: you’ll decide what the app should do, then learn how it works, so that you can judge what the agent produces.
1. Install your tools
Use Claude Code, or Codex if you prefer it. Check account requirements and costs; you only need one agent. Read permission requests before allowing access or actions.
Use Claude’s Code tab
Follow Anthropic’s desktop setup guide for your operating system and account requirements. Install the app, sign in and open the Code tab. The desktop route includes Claude Code; you don’t need a separate command-line installation for this guide.
Install Node.js 24 LTS from the official Node.js download page. Node runs the tools that build this app; its installer also supplies npm, which installs the project’s supporting packages. The starter requires Node 22.12 or newer. Claude’s desktop app includes its coding agent, but the reading-list project still needs Node.
2. Open the starter
Download the starter ZIP, extract it and keep its project folder somewhere permanent, such as a dev folder in your home folder. Rename the project folder reading-list if helpful.
- Claude: open the Code tab, choose Local, then Select folder.
- Codex: create a local project and attach this folder, following OpenAI’s project guide.
Select the folder containing CLAUDE.md and package.json: the project root. The starter has React, the interface library, and Vite, the tool that runs and builds it, configured.
Three kinds of document in this folder shape how the agent behaves, and they are worth opening:
CLAUDE.mdholds the project instructions. An agent starts every conversation knowing nothing about your project, so it reads this file first. Ours tells it to work on one requested piece at a time, to stop and wait for your feedback, and never to publish anything without being asked.AGENTS.mdpoints Codex to the same file.docs/brief.mddescribes the app: what it does and what it deliberately leaves out.docs/epicsholds five short checklists. An epic is a group of tasks with one useful outcome, such as “the starter runs”. You’ll point the agent at one epic at a time.
Because these files live in the project, a new conversation next week can pick up where you stopped.
3. Run the starting screen
Start a conversation in this project and paste:
Run my starting screen
Read CLAUDE.md, docs/brief.md and docs/epics/01-setup.md. Confirm this is the reading-list starter folder. Check Node and npm; guide me through any missing installation using official instructions. Install the locked dependencies with npm ci and run the starting screen. Do not plan or implement the reading-list features yet. Give me the local browser URL, explain what I should see and record only checks actually performed in the setup epic and docs/progress.md.
Paste this into your project conversation.
The agent uses a terminal: a tool for running written commands. Here, npm ci installs the locked dependencies and npm run dev starts a local development server. Open the URL it reports, which will look like http://127.0.0.1:5173. An address like this is called localhost: it points at your own computer, so the page is not yet online for other people. Use exactly the address the agent gives you every time, and keep the server running while using it.
4. Save a checkpoint
Git records versions of your project. A commit saves a local checkpoint you can return to. Ask your agent:
Save the starting point
Read CLAUDE.md and docs/epics/01-setup.md. Help me install Git if needed, using git-scm.com/install. Check this folder is not inside an unrelated repository. Set up local Git history if needed; ask for my author name and email if missing. Check .gitignore excludes dependencies, build output and secrets. Inspect the changes, then commit the starter and setup record. Verify the commit and explain anything left uncommitted. Do not publish or push.
Paste this into your project conversation.
FAQ
Do I need GitHub?
No. Git history is local. GitHub can hold a private online copy; we cover that optional backup in the publishing guide.
What if a command fails?
Copy the whole message, paste it to your agent and ask it to explain the cause and fix it. Common causes are a missing Node installation, a development server that stopped when you closed the app, or an address already in use by an earlier server. None of them harm your project.
How do I return another day?
Open the same folder. Ask the agent to read CLAUDE.md and the next epic, then restart the development server.
Next: Plan your reading list.